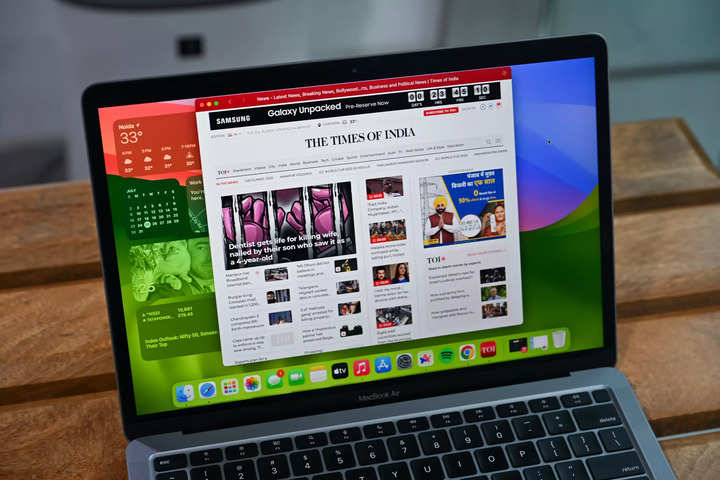
Tired of macOS Sonoma beta, here’s how you can rollback to macOS Ventura


Apple announced macOS Sonoma earlier this year at the WWDC 2023 keynote. The public beta is out now and if you have jumped the gun and installed the macOS Sonoma beta update on your mac only to realise that you want to get back to the stable version of macOS Ventura as soon as possible.
There’s no denying that macOS Sonoma brings several new features, improvements and changes to Mac. And, installing the beta gives you access to most of those features before the official rollout. At the same time they are also a lot buggy compared to the stable build.
So, if you are facing some issues like reduced battery life, functionality problems with the macOS Sonoma beta and looking for a way to rollback your Mac to the stable Ventura, here’s how you can do it.
But before proceeding with the steps, there are certain things you should know.
First and foremost, you’ll have to erase your Mac. So don’t forget to take complete backup before formatting.
Take manual backup as macOS Sonoma backup won’t work on macOS Ventura
Put the Mac on charge and don’t disconnect it throughout the process
A good internet connection is must as you’ll need to download around 12GB of data
Now that you are all set and ready, follow these steps to rollback to Ventura.
- Begin by shutting down your Mac completely
- Now restart it by pressing and holding the Power button. For Intel Macs, press the Power button and then hold down Command-R.
- A screen will appear. Choose the “Options” button and click “Continue.”
- You’ll be prompted to enter your user account password.
- Do not select the option to reinstall macOS if it’s offered. Instead, click on “Disk Utility” and then press “Continue.”
- Select the top-level of your hard drive displayed, and then click the “Erase” option.
- Provide a name for your Mac and click the “Erase” button again.
- Confirm your decision to erase the data by clicking “Yes” twice.
- When prompted, choose a Wi-Fi network for your Mac to connect to.
- After a brief moment, your Mac will become active, and you can click “Exit” to leave the Recovery mode.
- Now, opt for the “Reinstall macOS Ventura” choice.
Once you’ve completed the erasing process and entered Recovery Mode, you will have the opportunity to download and install macOS Ventura. Keep in mind that this download is approximately 12GB in size, which might take a few hours depending on your internet connection.
FacebookTwitterLinkedin
end of article


